Learn how to install a keypad on your garage door in just five easy steps with this DIY guide.
Installing a garage door keypad is an essential step in ensuring the safety and security of your home. Whether you’re looking to replace an existing keypad or install one for the first time, the process is fairly simple and straightforward. Here are some tips to help you get started:
1. Determine where you want to install your keypad. You may want to consider installing it near your garage door, so that you can easily access it when entering or exiting your home. Some homeowners also prefer to have their keypads located near their entry doors, for added convenience and security.
2. Once you’ve chosen a location for your keypad, use a stud finder to ensure that there are no obstructions in the wall, such as pipes or wiring. If you do encounter any blockages, carefully remove them to create a clear path for your keypad installation.
3. Once you’ve determined that your installation location is free of obstructions, use a drill to create a small pilot hole in the wall. This will allow you to insert your mounting bracket more easily.
4. Next, position your mounting bracket against the wall and attach it using screws that are long enough to securely secure it but not so long that they’ll puncture through the other side of the wall. Make sure that your keypad is level with the door before securing it in place.
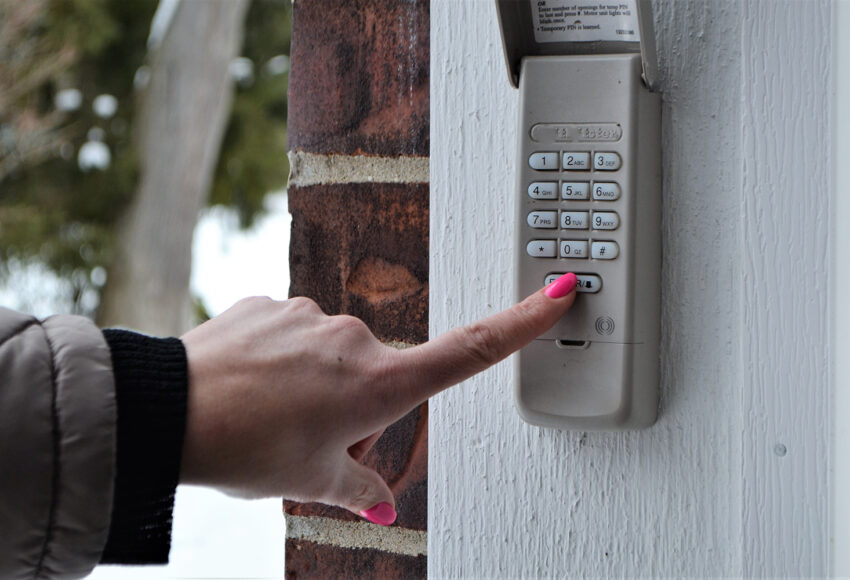
5. Once your mounting bracket has been secured, simply snap in your keypad and start entering your code to test it out. If you’re happy with the results, congratulations – you’ve successfully installed a garage door keypad! Be sure to periodically check and maintain your keypad over time to keep it functioning properly. For example, you may want to clean it periodically or change the batteries as needed. With these tips, you can rest assured that your home will be safe and secure with a garage door keypad installed.